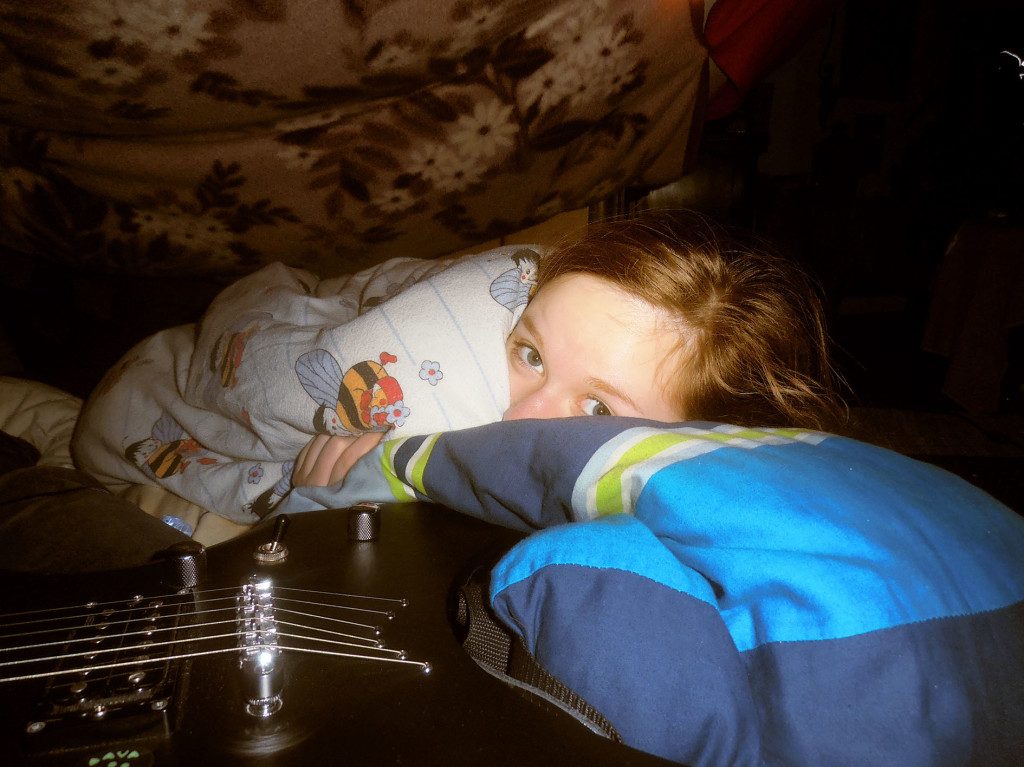
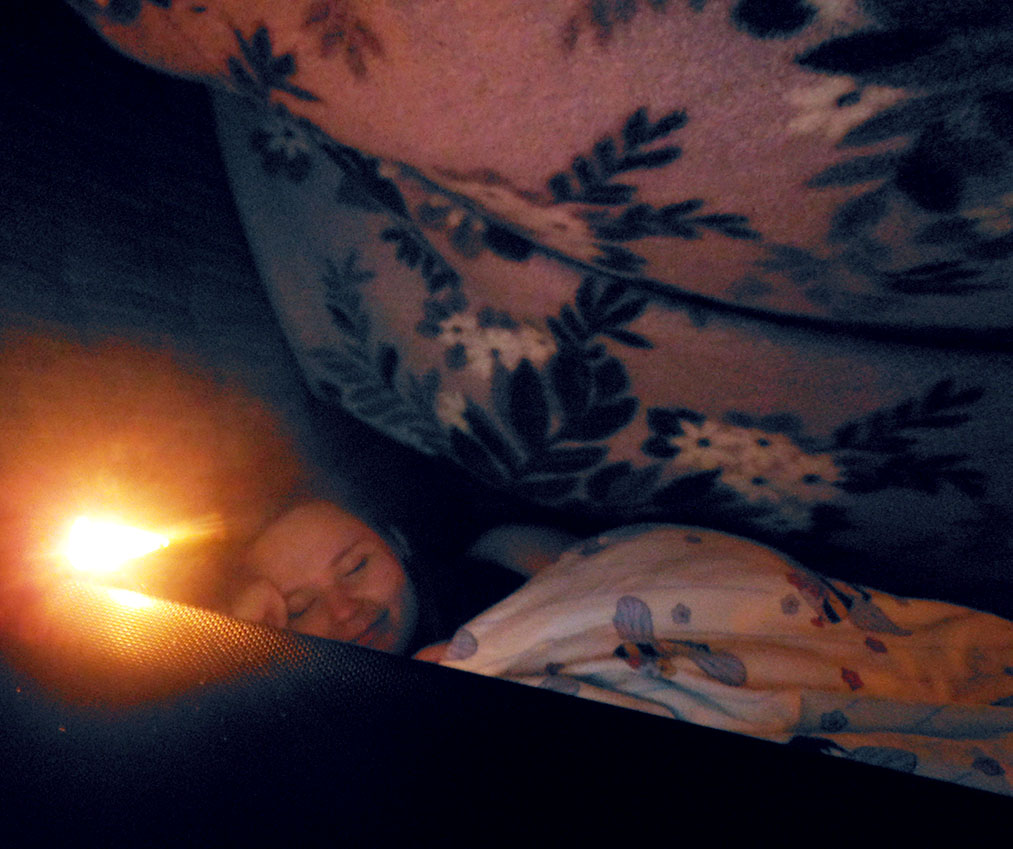
Everyone feels stressed out sometimes. It might be because you’re getting nowhere with your Christmas preparations, exams are coming up way too fast or adulthood in general is just too much to handle right now. That’s why I decided to relax by trying something I never did while growing up: build a blanket fort. Here’s how it worked out …

Step 1. Get a blanket fort buddy
A project like this is just plain depressing on your own, so get someone you would enjoy hanging out with for an afternoon. Someone who doesn’t annoy you endlessly while you’re building the fort. It might actually test your relationship if you’re not good at team work. I chose my brother because he is just childish enough to enjoy the project with me.
Step 2. Find a place to build the fort and make room

I guess most of you live in a tiny flat or student hostel like me. So building it there wasn’t a real option because my roommate and I own a grand total of three blankets. That’s why I waited for a weekend at my parents’ house. Their couch area is perfect for a blanket fort because we could build around the actual couch as well as use a couple of hooks and beams that provided stability for our fort. We also had to wait for our parents to be gone for most of the day because seeing their couch like that might have irritated them just a little. Also the thought of their two grown children building a blanket fort seemed to bewilder them, for some reason.
Step 3. Get everything you might need and build away
We collected the pillows and blankets from the entire house, using the lightest ones for a kind of dome roof and the heaviest winter ones as fluffy padding at the bottom. But we still had to stop after constructing half the fort and ask our granny for more blankets. So we had about ten to fifteen blankets of different weights and varying degrees of fluffiness. To attach the blankets to each other, pegs and safety pins proved most effective. It was also important to strengthen some parts with lots of pins and the biggest clothes pegs because they carried more weight. Just get used to the idea that your fort is going to collapse at least once, it’s a process that requires trial and error. Also don’t try to improve something until you’re entirely sure what it’s attached to. You can imagine why.
Step 4. Make yourself comfortable
Put all the heaviest, fluffiest pillows and blankets in your blanket fort and add some fairy lights for atmosphere. Maybe bring a laptop and watch a movie, snuggled into all the fluffiness of your fort. Enjoy the company of your blanket fort buddy and admire your work for a bit. My brother and I spent the afternoon watching Adventure Time on my laptop, napping and jamming on his guitar … it was magical.


Step 5. Finally take your blanket fort down
Life eventually has to continue. So after a while we had to take our fort down because our parents returned home and wanted to use the couch. My brother decided to throw himself into the fort to accelerate the demolition process (maybe only do that if you haven’t used safety pins).
Anyway, it was fantastic to be able to return to our childhoods for a few hours. Afterwards, we felt more able to face the world as adults, but most importantly – we had some fun.
Author & Pictures: Lisa Bittner


 Atlanta, the city that was burnt to the ground during The Civil War by Union General Sherman on his March to the Sea through the Confederate States, has a lot to offer. After having been to some of the typical sights like the Coca-ColaMuseum, the Georgia Aquarium and the CNN headquarters, we went to some of the small cities outside of Atlanta. One of them, Sandy Springs, has quite some history to offer. If you’re interested in the American Civil War, I can highly recommend the Heritage Sandy Springs Museum, which perpetuated original letters and quotes of especially women of that period, personal stories of pain and survival.


 Also it’s possible to share food via a “Fair-Teiler”, a store room with a fridge which is publically accessible. Food donations can be deposited there, to be collected by anyone interested. Another step in participating actively in foodsharing is becoming a “foodsaver”, which means going to shops which have made an agreement with foodsharing and picking up food they would normally throw away. The foodsavers collect the saved food and share it with their family, friends, neighbors and donate it to social projects.


 Everyone who knows me, knows Dussmann. Why? Because I talk about it pretty much 24/7. It’s a bookstore made of five floors of awesomeness. You need the Latin edition of Harry Potter? Go to Dussmann. Or are you looking for your favourite band’s latest album? You’ll find it at Dussmann. Maybe you prefer it as vinyl? Dussmann is your place to be. The best thing about Dussmann, though, is the English bookshop which you’ll find at the very back on the ground floor. I am pretty sure it’s the biggest English bookshop in the whole of Germany, and definitely worth a visit!
 The best frozen yogurt in town! Wonderpots has three different locations in Berlin but the one on Friedrichsstrasse is without a doubt the coolest one. The frozen yogurt is super yummy but it’s also a really great place to just hang out. You can enjoy your froyo sitting on a garden chair or if you like it a bit more comfy on one of their sofas. My special tip: Choose one of the seats outside. You’ll have a perfect view of the Humboldt University Library and let’s be honest: there is something awfully satisfying about knowing that students inside are studying for exams or working on their thesis while you’re enjoying the food of the gods.